There are a couple of exercises on this course which seem intended for traditional darkroom printing techniques but can reasonably be adapted to digital media. The first of these is burning in a sky. To be honest it feels like this should be a standard technique at this stage in the overall degree course, so here’s a before and after example. To make it closer to the apparent intentions of the exercise I’ve done a default B&W conversion in Lightroom first and then darkened the sky using the Brush tool and th exposure and clarity settings. Then I lightened the field using the yellow slider for good measure. Overall I think this gives the image a more ominous, stormy feel.
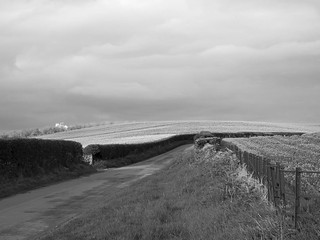
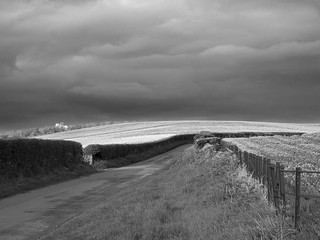
The extent to which you might think this is a good idea is obviously a matter of taste. I actually think it works in this case, but there has been quite a bit of debate about the Salgado Genesis exhibition on WeAreOCA, much of it associated with the level of processing/over-processing of some of his prints.
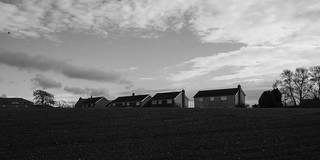
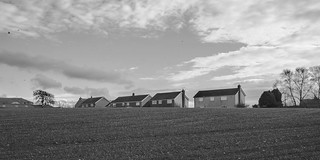
The second exercise is about printing a shot which has been taken into the light, and appears to be about bringing some detail back into the burned out areas.as above and also holding back the shadows to lighten them. This seems a lot simpler in digital media – this one is not quite directly into the light but makes the point reasonable well. I’ve been able to emphasise the contrast in the clouds to make them slightly more dramatic, while simultaneously lifting the shadows. Again which of these you prefer is a matter of choice. I’d go with the processed version, but at least one person has favourited the original.
No comments:
Post a Comment